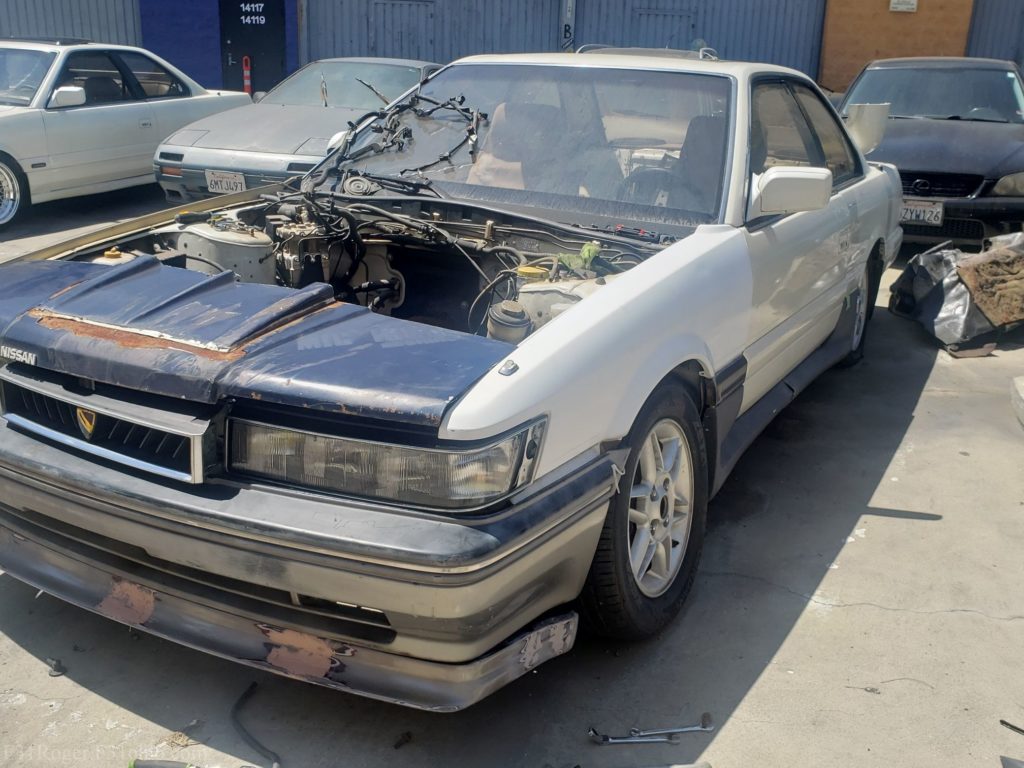
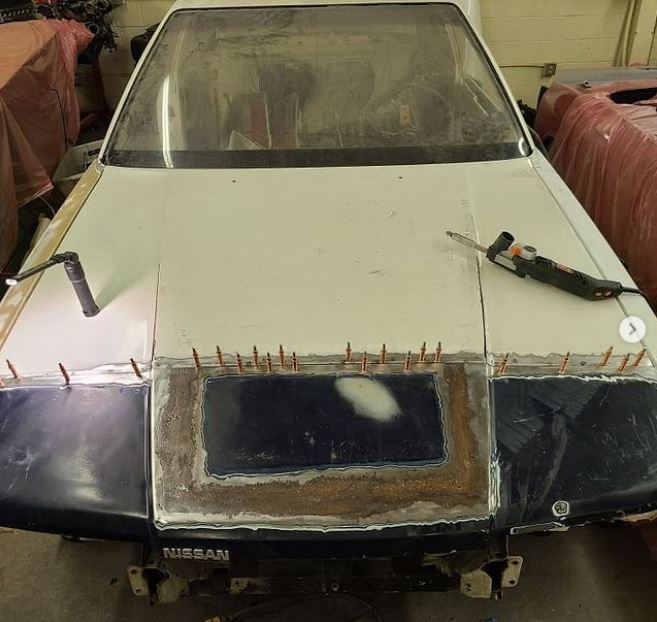
One of the biggest hurdles was the hood. I couldn’t get a hood transported while in Japan and had a 2nd option of shipping a front cut of the hood. This is what I went with.
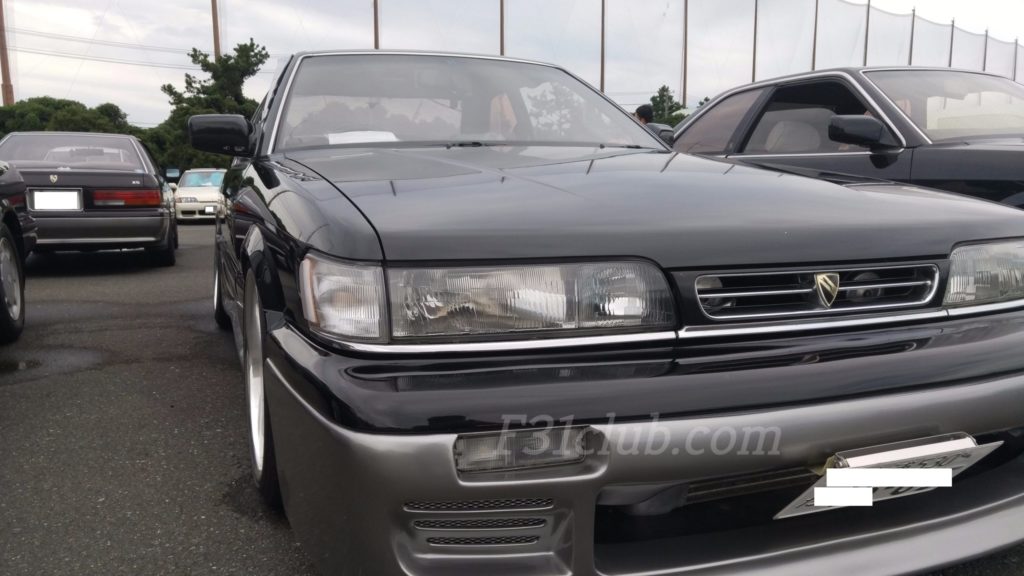
When the car was getting ready to get sent to Arizona, I put this picture of it mocked up. I loved it!
With that said, the hood would be the biggest challenge due to them being so different.
The contour of the middle of the hood from front to back is a very subtle line. My idea was weld it in place and use a vent to cover it up.
With the Zenki Leopard hood, that line is very pronounced from the grill section to the back.
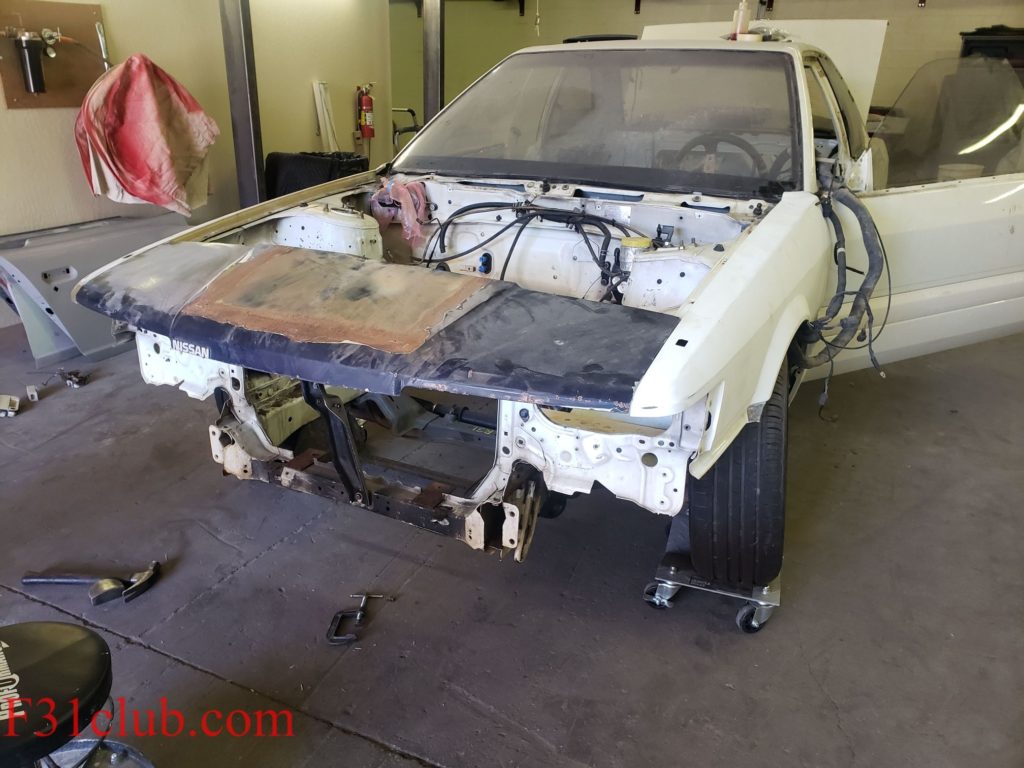
Chuck wanted to work on it and do some measurements. So we mocked up the front end. Made sure alignment was proper and know where to cut on the hood as well as the hood cut.
Chuck started to take a ton of measurements. He then started to set up everything.
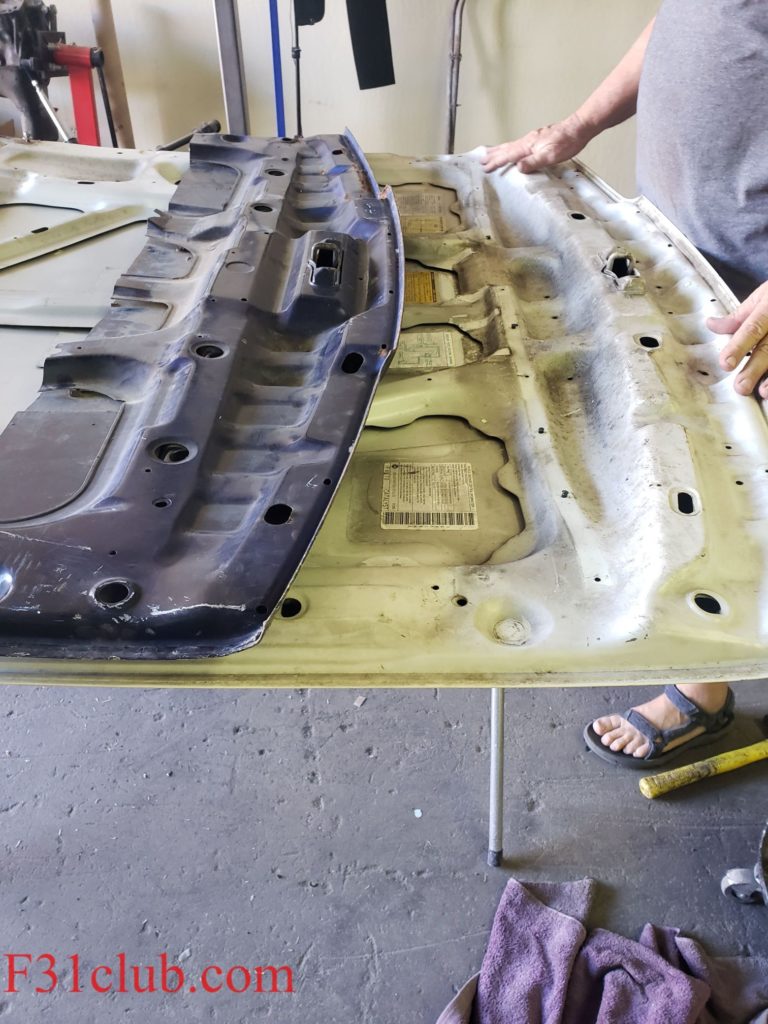
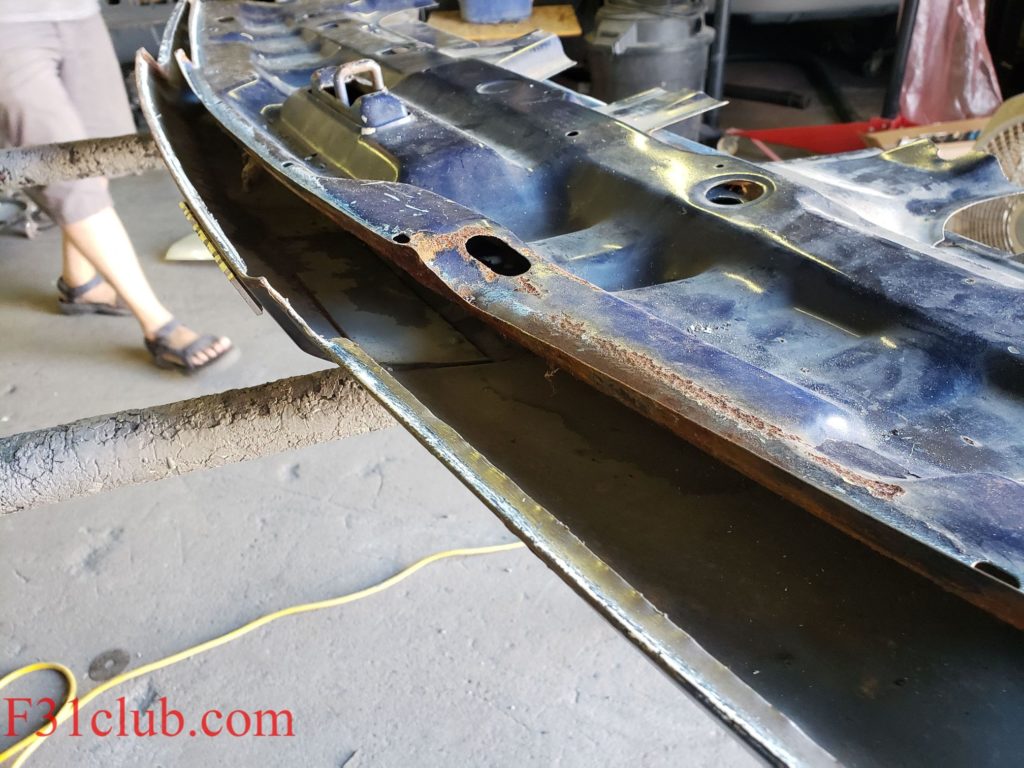
When Chuck turned the hood and hood cut over, there were differences that needed to be addressed.
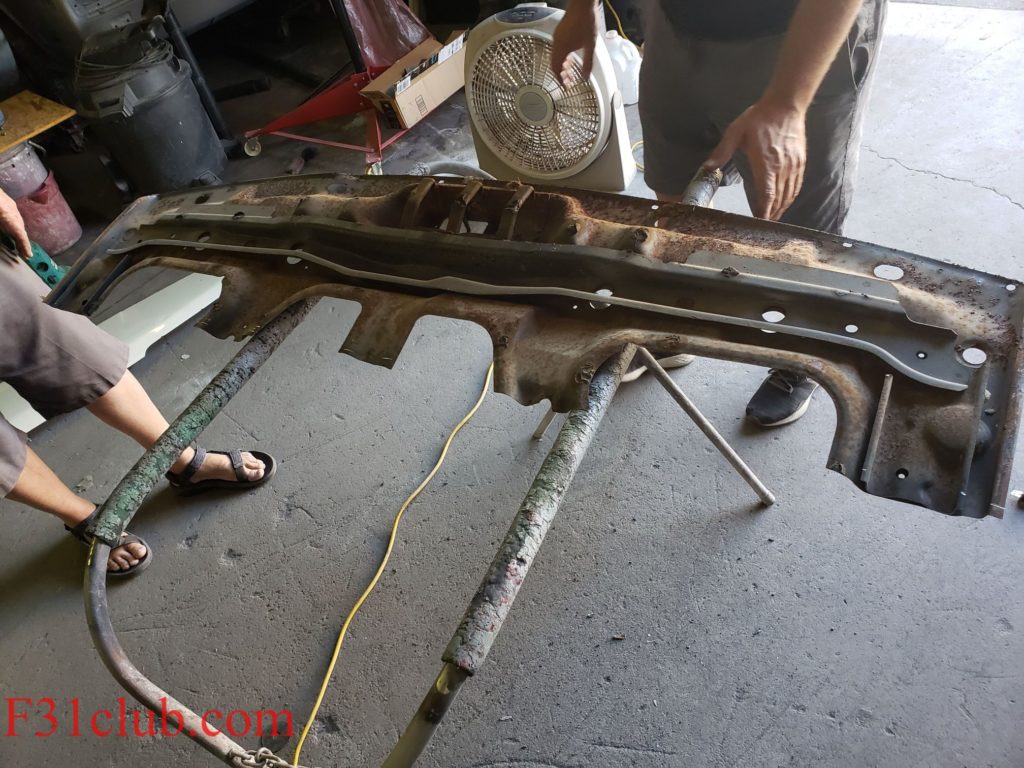
Chuck started to do more measurements and contemplating his approach. The skeletons were different from under the hood. This is where his genius was on full display.
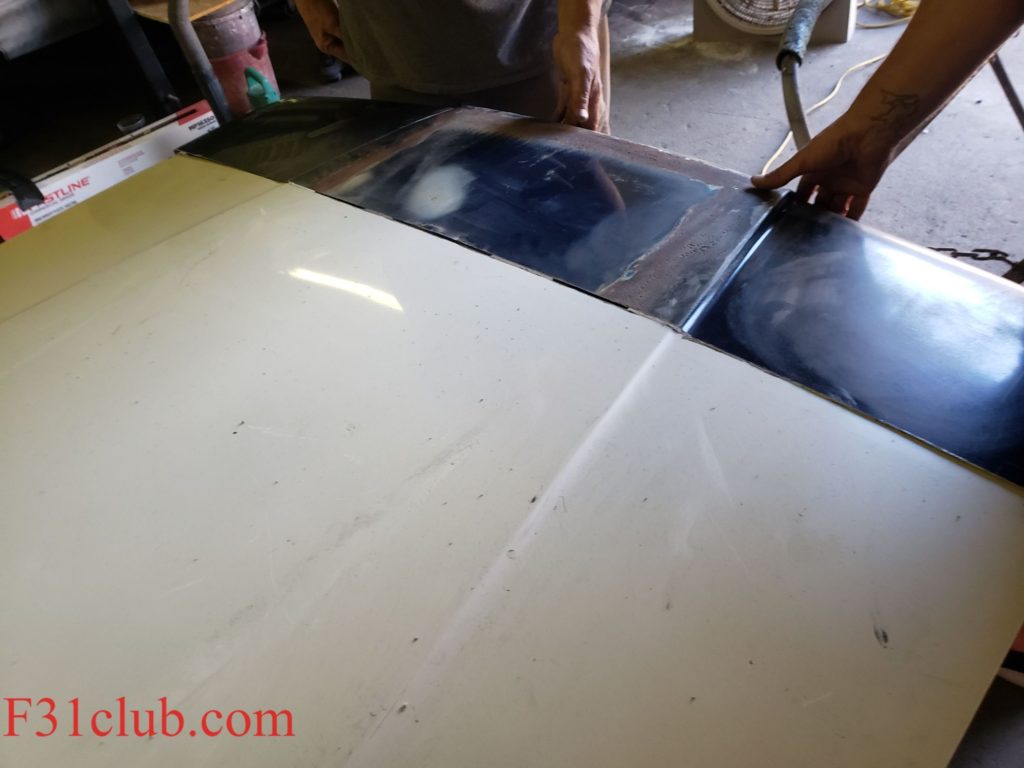
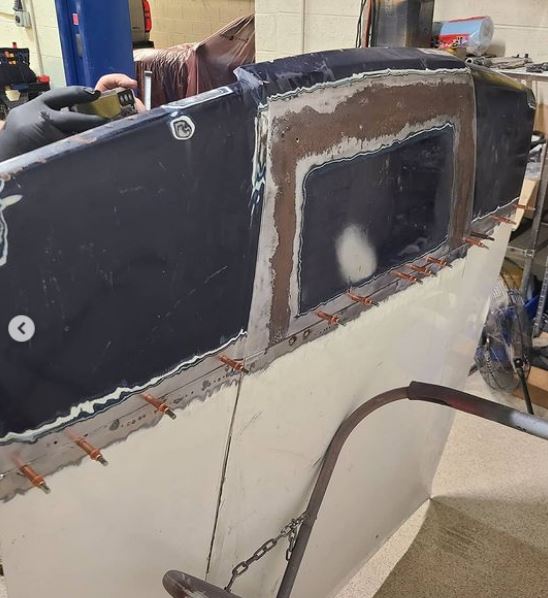
He started cutting the hood to a safe measurement, but also cut hood skin and leaving a bit of the skeleton on.
This is where it gets pretty amazing. Chuck split the zenki hood cut and matched the skeleton of both the hood cut and hood.
I would NEVER have thought of that. Again, I was like weld it up and it’s all good!
I’m glad that Chuck did this. I mean it is truly GENIUS.
But wait for this next part….
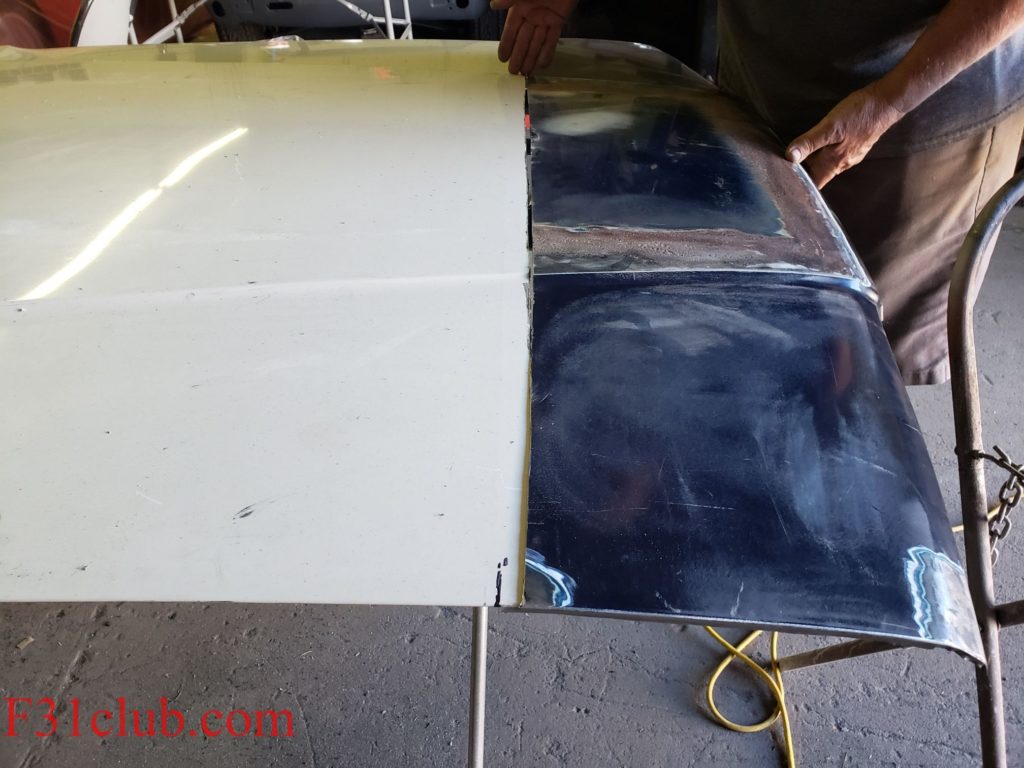
Chuck was conservative with the hood cutting to be on the safe side.
That contour in the center of the hood wasn’t as bad as we thought!!! I mean the hood will still need work, but it’s there!!!!
You are witnessing the 1st Zenki front end in the US!!! Welcome to the early 2000s era of front end swaps. LOL.